
I made this card last night,
I had die cut all the bits but hadnt decided on the final layout, which is pretty much me anyway.
So the Final card turned out like this

I love how it turned out so I will add the written how to down below
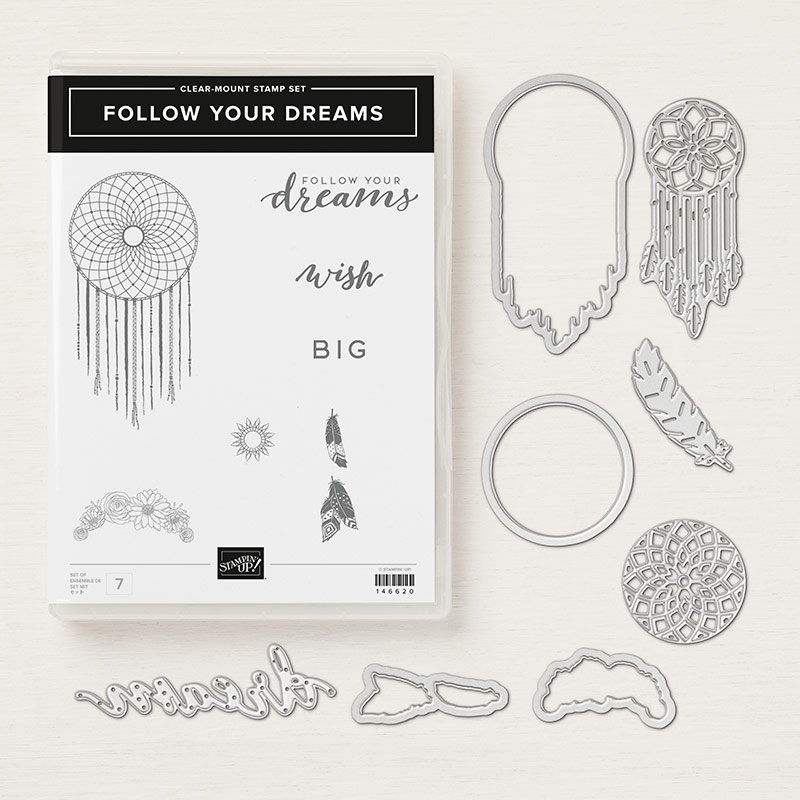
- I die cut all my dies that I felt I would need and a few extra incase I messed up lol, I used silver mirrorboard and the outline of the dreamcatcher I decided to do in Black so it would make the silver pop.
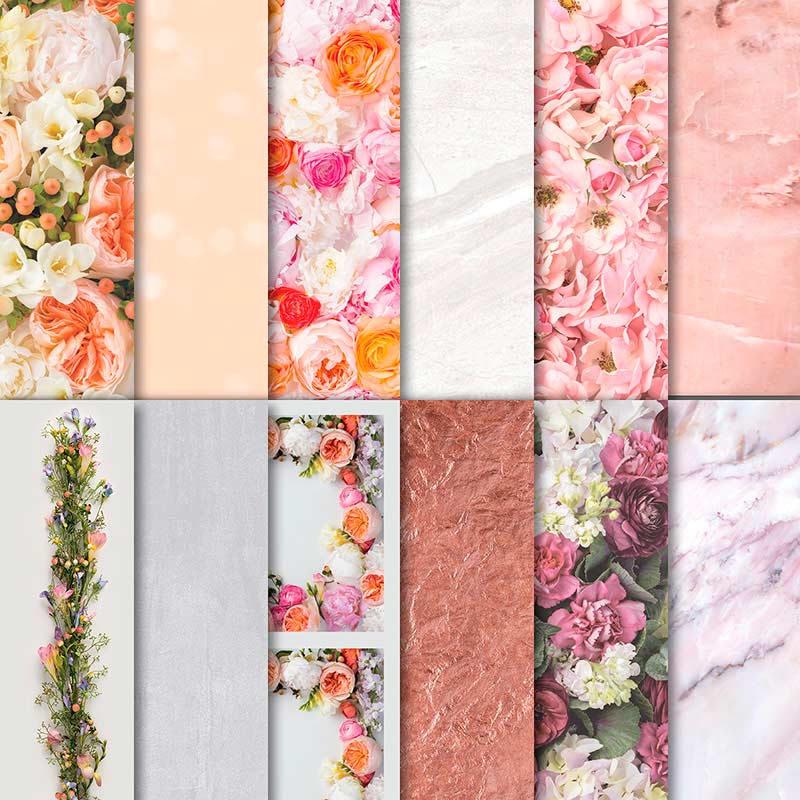
- I then got my card base and cut down my DSP from the Petal Promenade Suite as the colours matched perfectly with what I was thinking the size I cut it to was 10cm x 14.3cm (or in Inches - 3 15/16ths x 5 5/8ths), this still gives me a nice 0.5cm border (3/16ths in Inches)
- I then chose some silver threading from my stash but the silver metallic thread wrapped a few more times would be just fine. The bow was made from sale a bration ribbon from 2017 but the white with silver from this catalogue would work great.
- I layered up the largest dreamcatcher in silver onto the black outline shape then added the smaller one with the hanging feathers on top and used a pink brad to hold it in place.
- I then added the word dream at an angle and used one of the feather die cuts under the bow
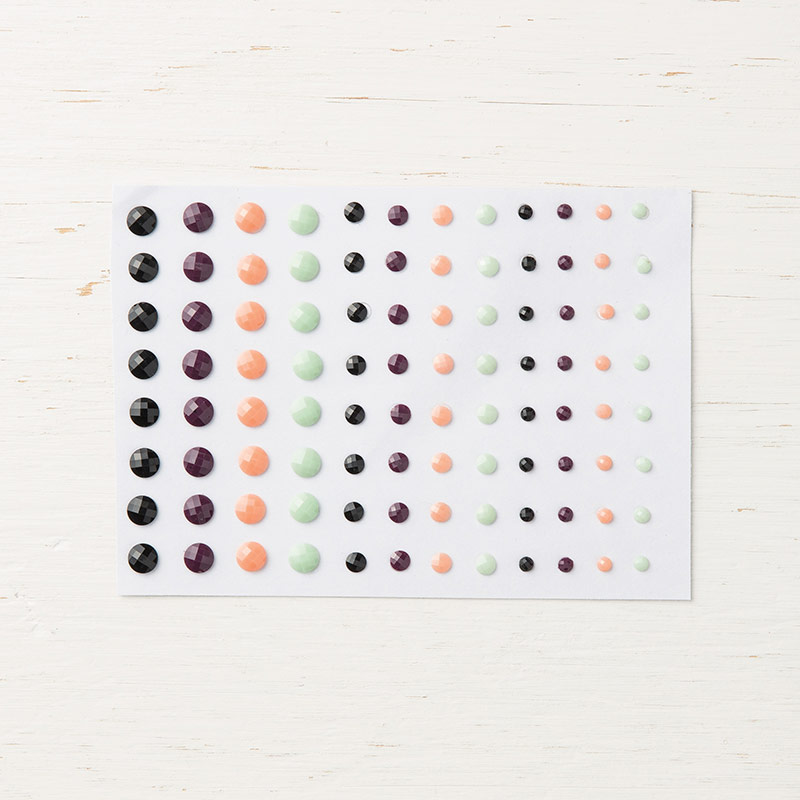
- finally I used some black faceted rhinestones to finish it off
The Youtube Tutorial giving you the full unedited card x
I hope you enjoy this set

Love and Inky Hugs Karen xx
No comments:
Post a Comment