Tuesday 24 July 2018

Stampin Up Order for Today

I placed my first Demonstrator order today whoop whoop

I got the pre order of the blended seasons stamps and the stitched season framelits and the newest watercolour pencils.


These will be live for customers to order from 1st August so not too long to wait.

I also got some more goodies 

Serene Garden Photopolymer Stamps


Garden Scene Framelits


Dandelion Wishes Clear Stamps

Then I got some of the new papers which were on offer and too good to miss out on

Natures Poem


Petal Promenade


Twinkle Twinkle


Under the Mistletoe

and some extras and essentials
Metallic Rose Thread

Silver Bakers Twine

3/8" White with Silver metallic edge

Classy Designer Buttons ( On Clearance Rack)

Normal Size Dimensionals

Adhesive Sheets

So much more on my wish list from the annual catalogue that I am slightly hoping the holiday occasions catalogue is not so great or im really snookered haha
my families beans on toast meals may reduce to bread and water lol x 

anyway enjoy my little order
Love and Inky Hugs Karen xx


Monday 23 July 2018

Stampin For All Design Team Challenge

Stampin For All Design Team Challenge
Teacher Appreciation

Last week I hosted the challenge on Stampin For All
it was the theme of teacher appreciation
which is an amazing theme and so worthwhile as our
school staff does an amazing job looking after our kids day in day out.

my project is covered notebook and matching pen


Clip board for post it notes

Weaved Ribbon Card

Votive candle boxes using 2 of the new colours
Mango Melody and Gorgeous Grape
These were made by the talented Debbie Harper


Superb card made by the lovely Lorraine Turner
Using Poppy Parade and Garden Green (I am guessing)

Thank you for taking part 

Lots of Love and Inky Hugs Karen

Wednesday 18 July 2018

New PC

My old PC died and went to PC heaven on Monday, I spent all of Tuesday trying desperately to revive it, system restores twice, and then a factory restore and still nada 😢😢
So mum to the rescue ( thank you mum)
I ordered a new PC from Argos 

Model number:260-a111na.
CPU and Memory:
  • AMD Quad Core quad core.
  • 7110 apu.
  • Processor speed 1.8GHz.
  • 4GB RAM.
Hard drive:
  • 1TB HDD storage.
Graphics:
  • Shared graphics.
  • AMD r2 with .
Interfaces and connectivity:
  • 3-in-1 media card reader.
  • 4 x USB 2.0 ports.
  • 2 x USB 3.0 ports.
  • Ethernet port.
  • 1 HDMI port.
  • Bluetooth.
  • Wireless/WiFi enabled.
Keyboard and mouse:
  • Wired keyboard and mouse.
Operating system and software:
  • Microsoft Windows 10.
Monitor:
  • 21.5in display.
  • Resolution 1920 x 1080 pixels.
General features:
  • Size of tower H27.5, W10, D30.7cm.
  • Size of monitor (H)38.25, (W)22.34, (D)50.76cm.
  • Weight 4.4kg.
  • EAN: 190781124610.
fantastic specs for the price and my last PC was an HP and lasted 10yrs with very little issues so I am hopeful we can stay with this one for a while.
Next big issue is reinstalling all my programmes arggghhh
I cant live without my photo shop programme so need to get on eBay and try find a decent version to work with.

I have been crafting for a bit through the night last night, I couldn't sleep as I had some tragic news relating to my friends x so when I get like that I normally head to my craft room and do something and turn on YouTube and listen to some calming music or else listen to crafters

but had no PC so it was silent very surreal 
anyway here's what I made 


Today’s wee project using limited supplies whisper white card stock mint macaron and grapefruit grove card stock (check your scraps) and both ink pads and the treat time stamp set x I used the hearts to design my own DSP and then used the sentiment x I love how these turned out and if you use a5 white card stock when you design your DSP you have plenty left over for some small tags x 


Another minimal supplies card whisper white and gorgeous grape (die cut your layering circle from the mat layer) i used the stitched shapes framelits and the layering circles the stamp set is varied vases I used Gray granite for the vase to give it an aged marble stone look and added glossy accents to make it look glazed then I used balmy blue and pool party for the flowers x I added some stickles to give it a bit of sparkle x and lastly gorgeous grape ribbon x 

I may not blog tomorrow to give me time to reprogramme this PC but I will defo be back Friday with my Pootlers TIC TAC TOE Challenge xx

Lastly I hope all our SU Family who are off on the incentive trip have a wonderful time.

Lots of love and Inky Hugs Karen xx


Tuesday 17 July 2018

Playtime

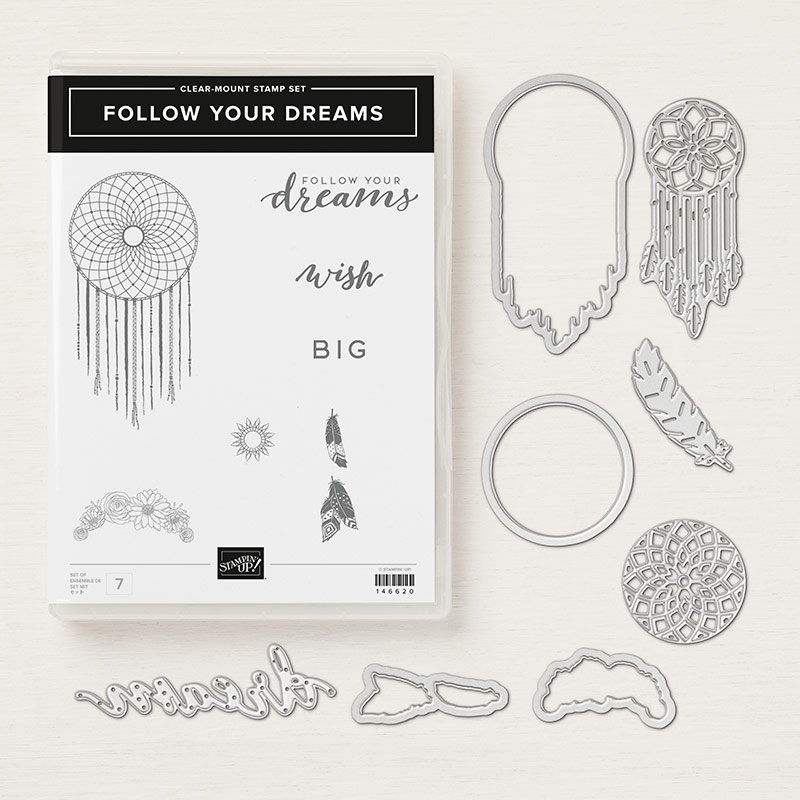
The past day or so I have been playing with my newest stamps and dies from Stampin’ Up! 
And I love how versatile they are I made this card yesterday using one ink pad seriously I used balmy blue.

I used whisper white card stock and silver mirror board 
The bottom layer I added ink from my pad on to an acrylic block to use as a paint palette 
I then added a few drops of water and gave the card a wash with the ink, I then wiped my block and added more ink this time adding a tiny amount of water so it was darker than the first layer and using my aqua brush I splattered on the darker mix.

My second Matt I stamped using the balmy blue ink pad and the two feathers from the follow your dreams set I chose to separate them this is how I will use them best .
I took the larger one first and stamped randomly then I took the smaller one and basically randomly stamped inbetween any spaces that were left.
My top layer I used the larger dream catcher stamp again in balmy blue
But after it was stamped I used a blue glitter pen from my stash and went over the tassels and the outline of the catcher.

Finally I added tiny 1or2mm rhinestones again from my stash
And positioned them on the set spots around my dream catcher.
The ribbon was the white and silver from the current catalogue which I then coloured using my balmy blue stampin’ write marker. It then matched perfectly.
The die cut dream catcher I decided also needed the silver mirror board so I fussy cut around the image and it framed the die cut perfectly I then added dimensionals to the back to pop it up.
I also die cut the word DREAM and stuck that down over the ribbon.
All the other layers were backed on mirror board also as being a really cost effective card I wanted the added elegance but remember you can die cut before hand from these panels to save your mirror board. 

I’m really happy how it turned out using minimal supplies so you do not have to have the whole catalogue in your craft room/space to create a stunning and elegant card.

Lots of love and inky hugs Karen x

Sunday 15 July 2018

Treat Time Stampin' Up! Bundle Tutorial

Good Morning Everyone
yet another youtube video launched this morning showing off the new Treat Time Bundle
I kept them very simplistic but these can be decorated to a very high standard if you wished to use them as a wedding favour box they would be ideal.


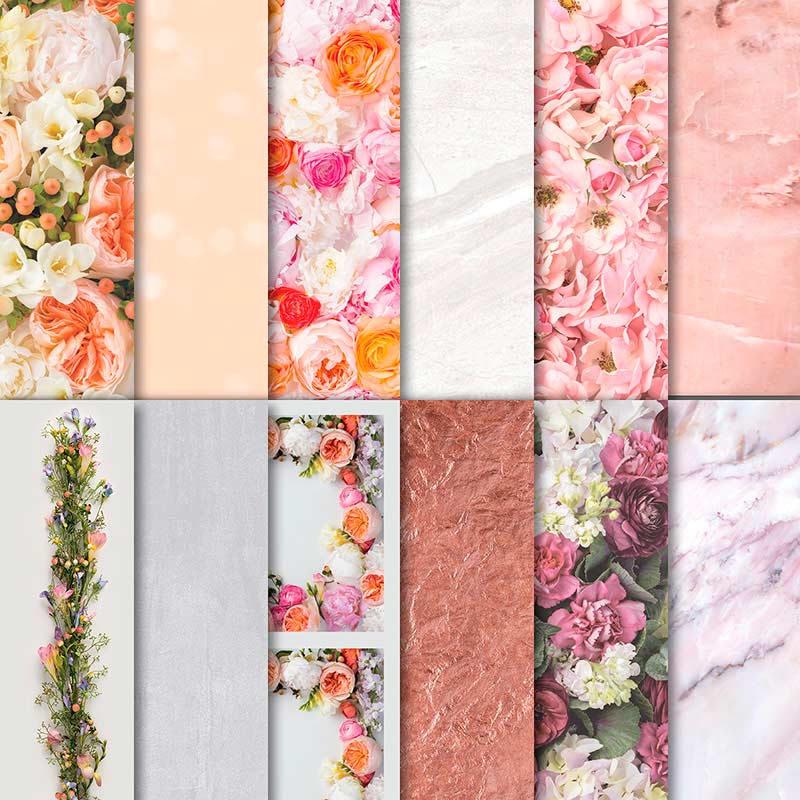
I used the Bundle of Love DSP for my sample as it is now retired, but for my video I used the stunning petal promenade it is so so pretty and feminine but the reverse of the stunning florals are neutral designs that would be fine for males.


Anyway hope you enjoy
Love and Inky Hugs Karen xx


Saturday 14 July 2018

Follow your Dreams Card Tutorial

I made this card last night,
I had die cut all the bits but hadnt decided on the final layout, which is pretty much me anyway.
So the Final card turned out like this


I love how it turned out so I will add the written how to down below


  1. I die cut all my dies that I felt I would need and a few extra incase I messed up lol, I used silver mirrorboard and the outline of the dreamcatcher I decided to do in Black so it would make the silver pop.
  2. I then got my card base and cut down my DSP from the Petal Promenade Suite as the colours matched perfectly with what I was thinking the size I cut it to was 10cm x 14.3cm (or in Inches - 3 15/16ths x 5 5/8ths), this still gives me a nice 0.5cm border (3/16ths in Inches)
  3. I then chose some silver threading from my stash but the silver metallic thread wrapped a few more times would be just fine. The bow was made from sale a bration ribbon from 2017 but the white with silver from this catalogue would work great.
  4. I layered up the largest dreamcatcher in silver onto the black outline shape then added the smaller one with the hanging feathers on top and used a pink brad to hold it in place.
  5. I then added the word dream at an angle and used one of the feather die cuts under the bow
  6. finally I used some black faceted rhinestones to finish it off 
The Youtube Tutorial giving you the full unedited card x

I hope you enjoy this set

Follow Your Dreams Bundle


Love and Inky Hugs Karen xx

Friday 13 July 2018

Its ARRIVED

My Starter kit has arrived and I am delighted,
have spent the last hour adding labels to ink pads, fixing my stamps,
I like my clear mount taken off the excess rubber and added to the inside of my case
then take the stickers and add them to the outside of the case so I can see at a glance if any are misplaced. It works for me.

I have then took down my older styled ink pads in the regal family its made a huge difference to my stamp rack now x 

I also received my success magazine so thats going through to my bedroom for me to read while i'm in bed, had a quick glance and love all the extra inspiration it gives.

Anyway
short and sweet today as I have thing to play with ;)

love and Inky Hugs Karen xx

Thursday 12 July 2018

Creative Time

Yesterday I was able to have some fun creating.
I absolutely love Stampin For All Facebook group for its challenges and enjoyment 
yesterday I took part in both challenges for this week 1st one was
a theme challenge and the theme was Celebration
and I chose a Birthday Card.
One of the hardest cards I find to make is the male teens-30+
but I have found the best is simplistic and just clear shapes and limited colours.
I have made a few of this style and given to the related age group and it has been well received
Black and Silver
Black and Gold
are perfect, add the age and get them done.
anyway, here is my card that I created for the Celebration Theme

I used the Broadway Bound DSP 
I fussy cut out the numbers 
I used the starburst, 2" circle, dual banner Punches.
I have used the "dreaded" peel offs I do love them as they are quick and uniform
and saves me embossing through the night lol.

The next challenge was a TIC TAC TOE


My 3 items were
Floral - Free ( Ribbon) - Thanks


This card I used Petal Promenade
I used 2 doilies that are now retired (Sorry) but we do have super cute
pearlized doilies, starburst punch with some calypso coral inked on the edge.
I also used the Powder Pink 3/8" (1 Cm) Mini Ruffled Ribbon
so so pretty and I love it.
the sentiment I had in my stamp collection but Stampin' Up! has a few perfect stamp sets
just search Thank in the online catalogue.

My Card Base are
from Every crafts a pound I just find it more efficient.
as I can buy in bulk and have envelopes to match in different sizes.

and I will leave the link to the facebook group here

come and join in the fun

Lots of love and Inky Hugs xx 


Wednesday 11 July 2018

My Starter Kit

I joined when there was an amazing joining deal
a full colour family of ink pads
worth £63
so I chose the Regal Family

Then I ordered
Follow your dreams Bundle

Treat Time Bundle

Varied Vases Bundle

Tombow Liquid Glue

Sequins Basic Adhesive 

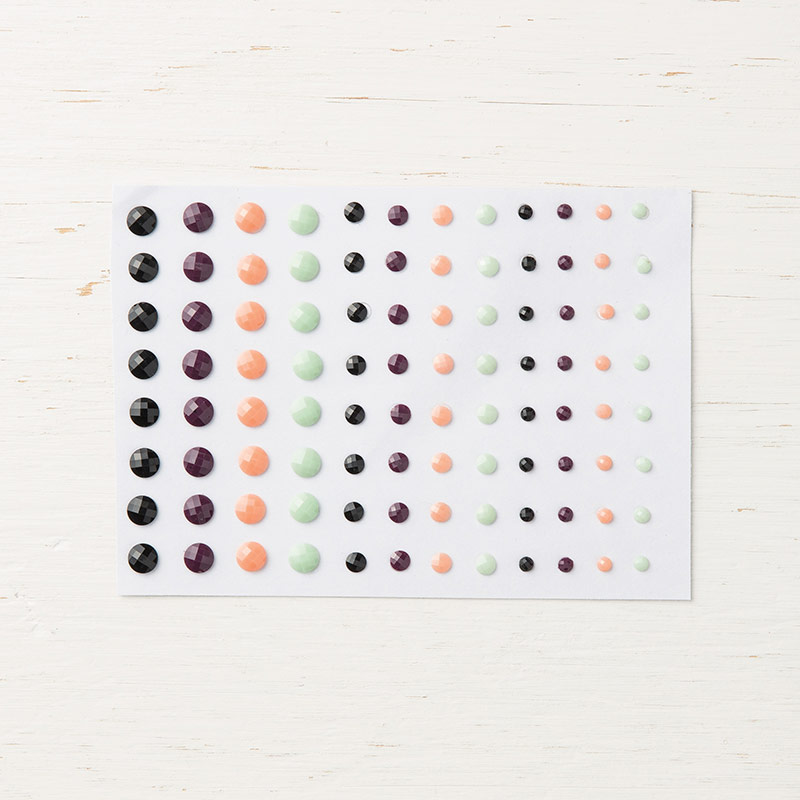
Glitter Enamel Dots

Also got my business starter kit 
including all the essentials to start selling
although thats something I am not doing at least for now.
all for £99

Bargain
cannot wait to share with you all the new designs I can come up with x 

Enjoy and Happy Stampy Hugs x 


Teacher Appreciation Gifts and Cards


In Scotland our children broke up for the summer at the end of June
and my youngest is graduating to high school after the holidays.
So he wanted to gift a lot of staff and I couldn't say no as they have been absolutely wonderful with my son.
So I made all my teachers the same gifts but different designs
They all got 
Notepad and Pen in a sleeve
Card
Ferrero Rocher x3 in a box
and 4 tealight candles in a box
So I will add photos and all the dimensions at the end.


Notebook Cover
10.5cm x 19cm
Score on the longside at 2.5cm and 4cm
Matt Layer (DSP) 14cm x 9.5cm

4 1/8th" x 7 1/2"
Score on the long side at 1" and 1 9/16th"
Matt Layer (DSP) 5 1/2" x 3 3/4"

and added the statement of the heart stamp and my layering ovals thinlits


Pen Sleeve
5cm x 29.2cm
Wrap
13.9cm x 13cm

Score on the long side (Wrap) 
3.8cm - 4.4cm - 9.5cm - 10.1cm


Pen Sleeve
2" x 11 1/2"
Wrap
5 1/2" x 5 1/8"

Score on the long side (Wrap) 
1 1/2" - 1 3/4" - 3 3/4" - 4"


Tealight Candle Box

25.4cm x 15.5cm

Score on the long side at 
1.9cm - 3.8cm - 11.7cm - 13.6cm - 21.5cm - 23.4cm
Score on the short side
1.9cm - 3.8cm
turn 180° and repeat 


10" x 6 1/8th"

Score on the long side at
3/4" - 1 1/2" - 4 5/8" - 5 3/8" - 8 1/2" - 9 1/4"
Score on the short side 
3/4" - 1 1/2"
turn 180° and repeat 


Ferrero Rocher Box

22.8cm x 16.5cm

2.5cm - 6.3cm on all 4 sides

Wrap
16.8cm  x 10.3cm

Score on Long side at 
1.27cm - 5cm - 9.04cm - 12.85cm


9" x 6 1/2"

1" - 2 1/2" on all 4 sides

Wrap
6 5/8" x 4 1/16"

Score on Long side at
1/2" - 2" - 3 9/16th" - 5 1/16th"


I hope you Enjoy

Love and hugs Karen x